Once a Team Member has submitted task updates for approval, the Project Manager or Status Manager can preview those updates and then accept or reject them.
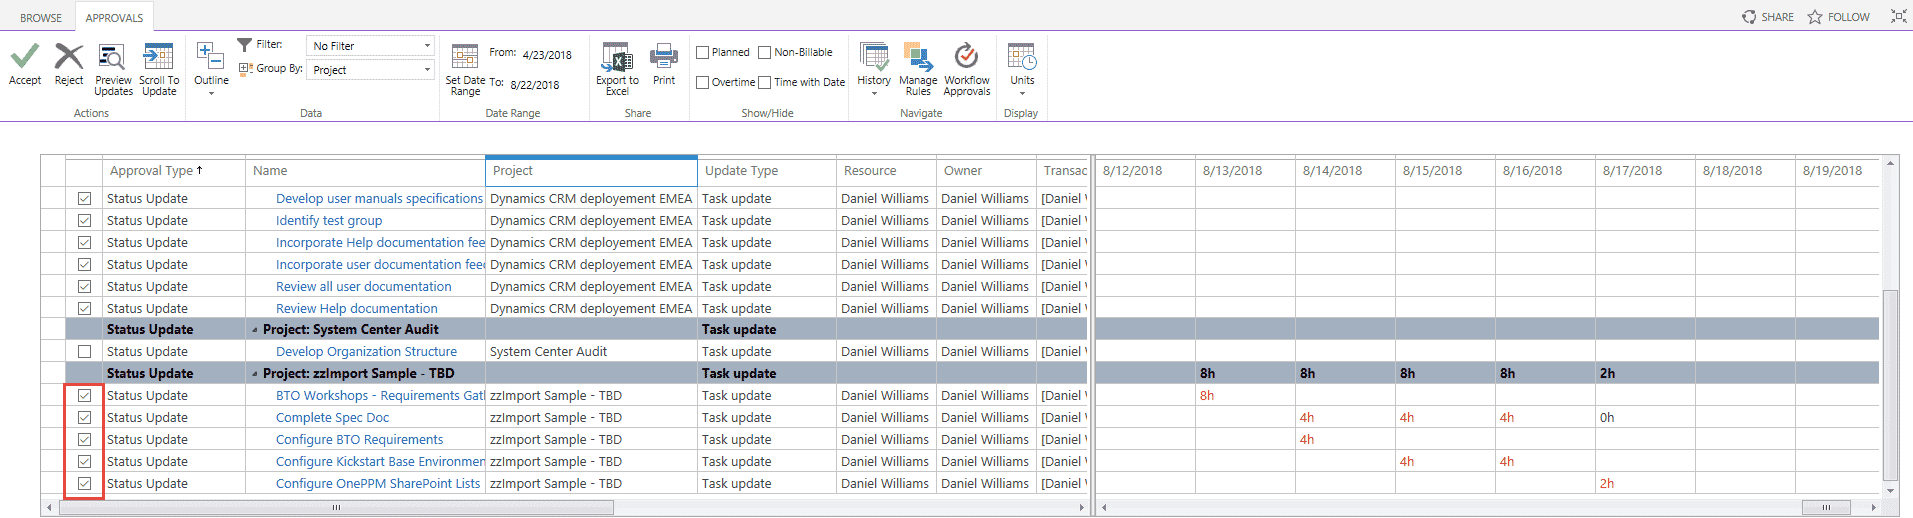
The Approval Center page provides a place for Project Managers and Status Managers to view, preview and accept or reject task changes submitted by resources. Once the task updates are processed, the associated Microsoft Project schedules are updated on the next publish. The Approval Center page in Project Online/Server provides an approval gateway for Project Managers and Status Managers, allowing them to check task changes submitted by their resources before they are synchronized with the Project schedule as part of the updating process.

Please Note: The timesheet approval process (for Resource Managers) and the task update approval (for Project/Status Managers) processes are mutually exclusive. As a result, if a Resource Manager rejects a timesheet, then the affected tasks do NOT affect the task update processed by the PM. In addition, a PM can process task updates on a timesheet that has not been submitted or approved by the Resource Manager. However, when the Team Member updates a rejected timesheet, to satisfy the Resource Manager, the PM is unaware and the project schedule updated ONLY if the user sends the updates to the PM, via the “Send Status” button. Otherwise, the PM will not be aware of the changes.
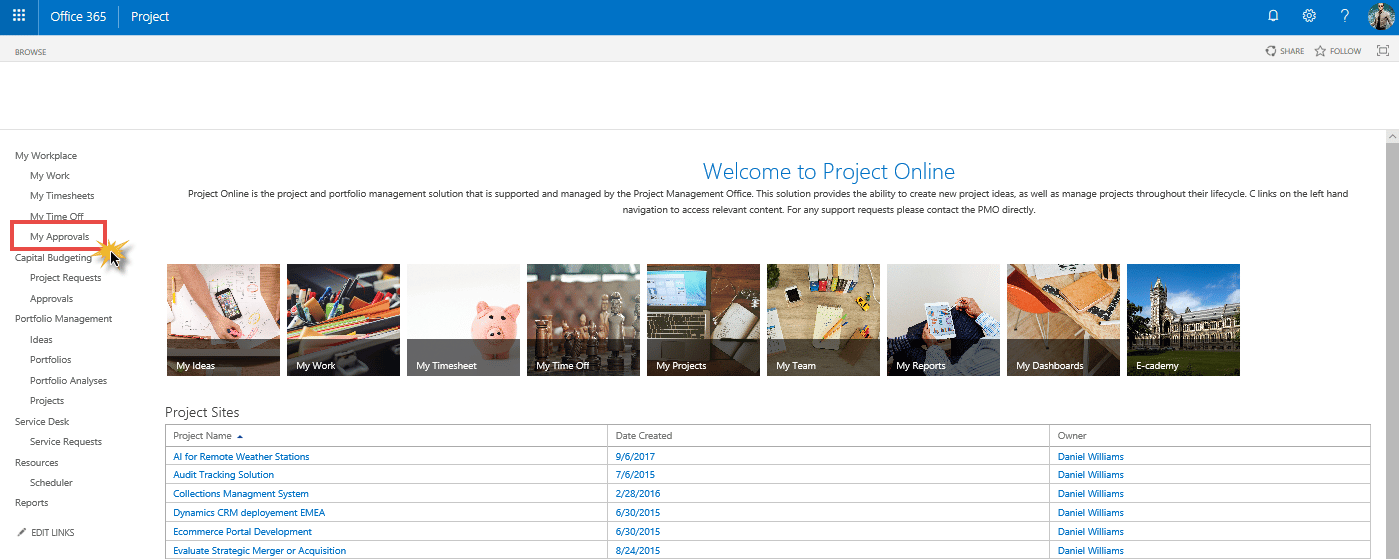
Navigate to your Project Online environment. From the Quick Launch Menu, click the My Approvals link (or ‘Approvals’) to access Project Online’s ‘Approval Center’.
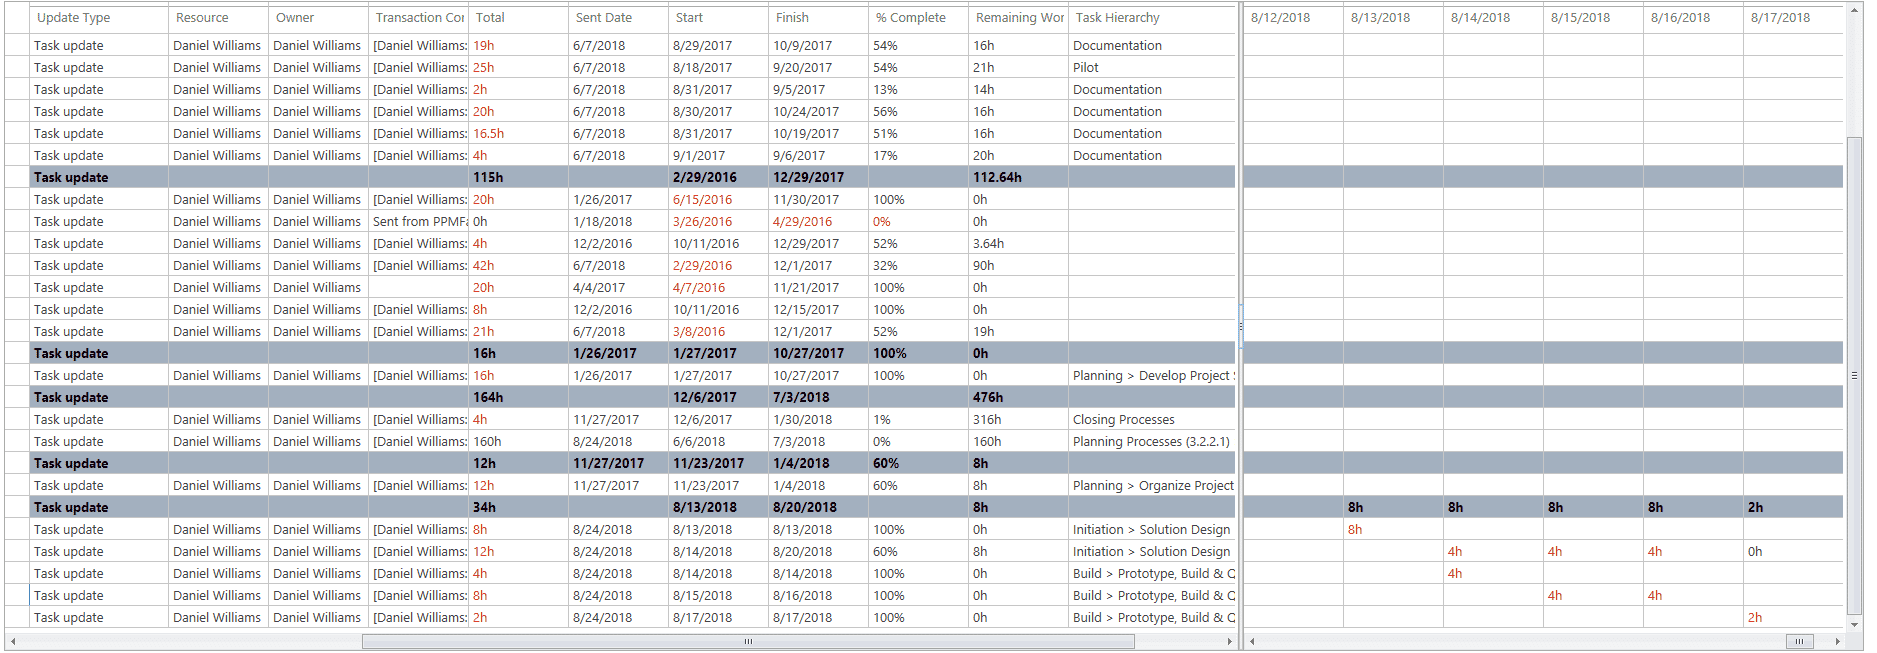
Review recently submitted task updates. The Approval Center page displays the current task updates submitted. 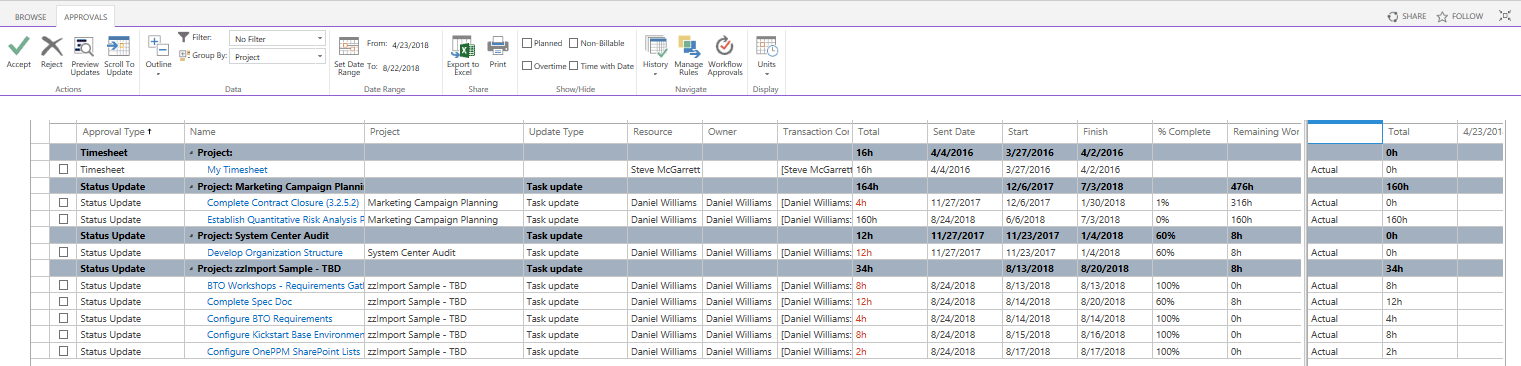 Review additional task update information. Scroll to the right side of the table to view the additional task update information. Information in RED indicates the items that have been updated by the Team Member.
 Previewing Task Updates in PWA
To Preview Task Updates in PWA, access the ‘Approval Center.’ Navigate to your Project Online environment. From the Quick Launch Menu, click the My Approvals link (or ‘Approvals’) to access Project Online’s ‘Approval Center’.
 Select the tasks to be previewed. Select the checkbox next to the task(s) which you want to preview.
 Click the ‘Preview Updates’ button. Click Preview Updates on the Approvals tab, located in the ‘Actions’ section of the Approvals menu ribbon.
 Review the Preview page.
A new tab will open displaying what the project schedule will look like if the task updates are accepted. The Preview page shows what the plan would look like if the task update(s) were accepted.
The following variances are highlighted:
- Duration (Previous Duration vs. (Current) Duration)
- Start Date (Previous Start vs. (Current) Start)
- Finish Date (Previous Finish vs. (Current) Finish)
- % Complete (Previous % Complete vs (Current) % Complete)
The Gantt Chart is also updated to reflect variances:
- Previous Gantt Bar = Grey vs. Current Gantt Bar = Blue
- Previous Milestone Diamond = Grey vs. Current Milestone Diamond = Black
The Summary Bar will be extended to reflect the changes of its sub-tasks.
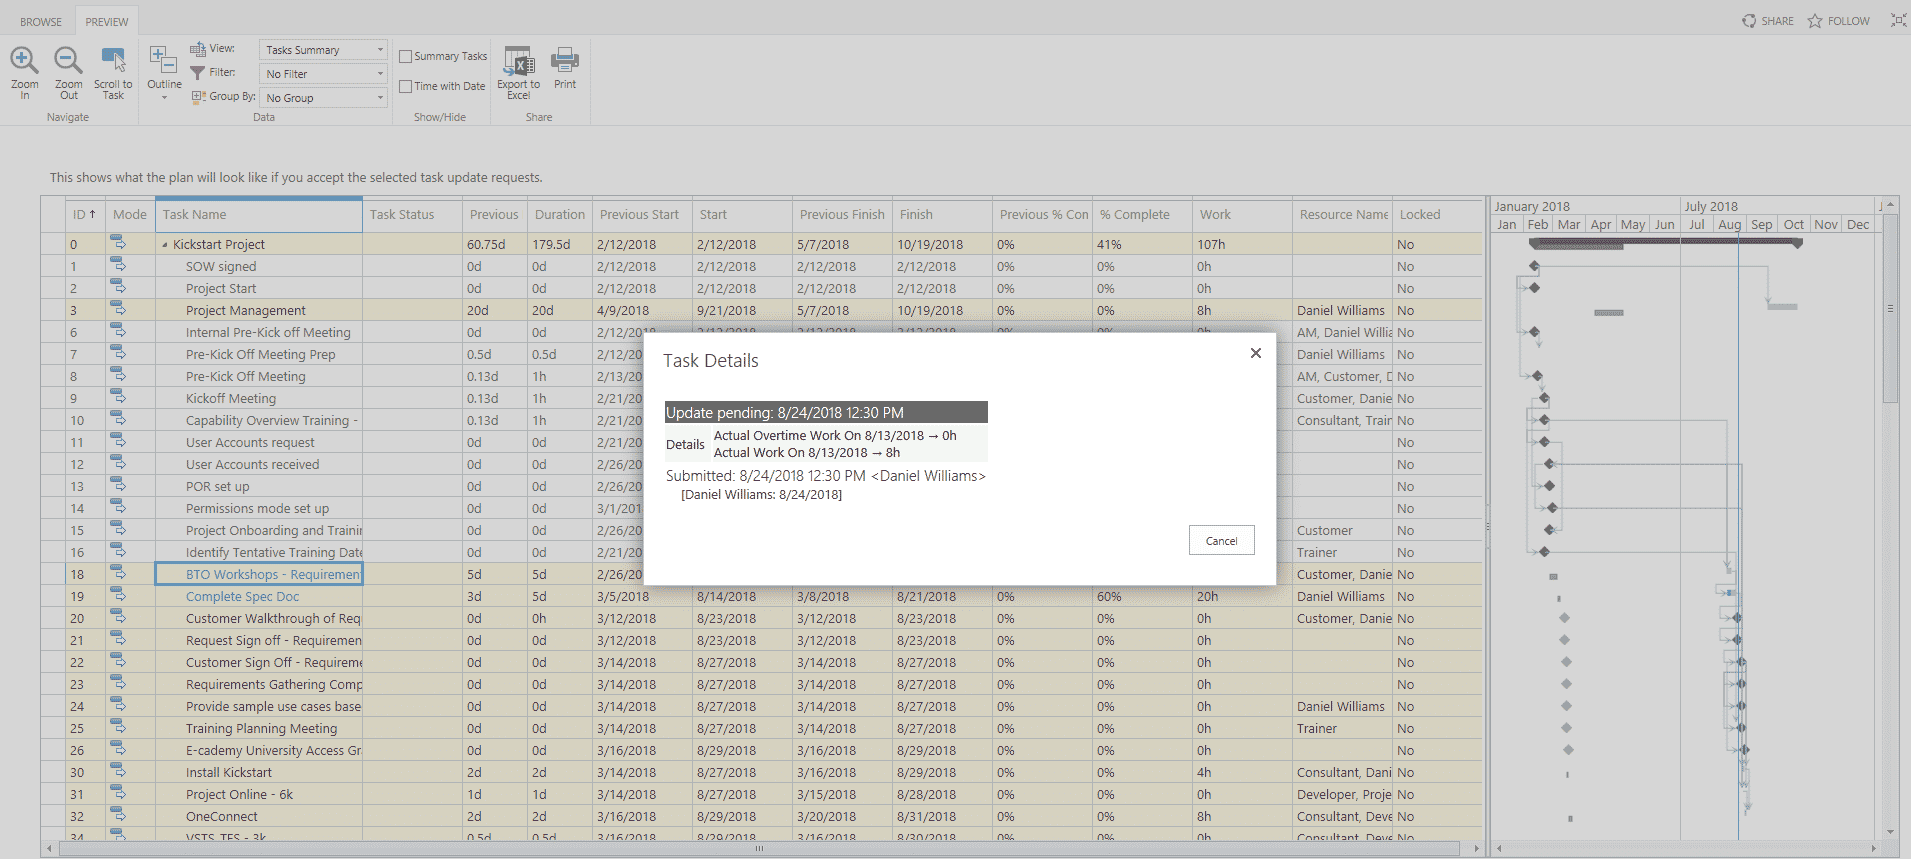
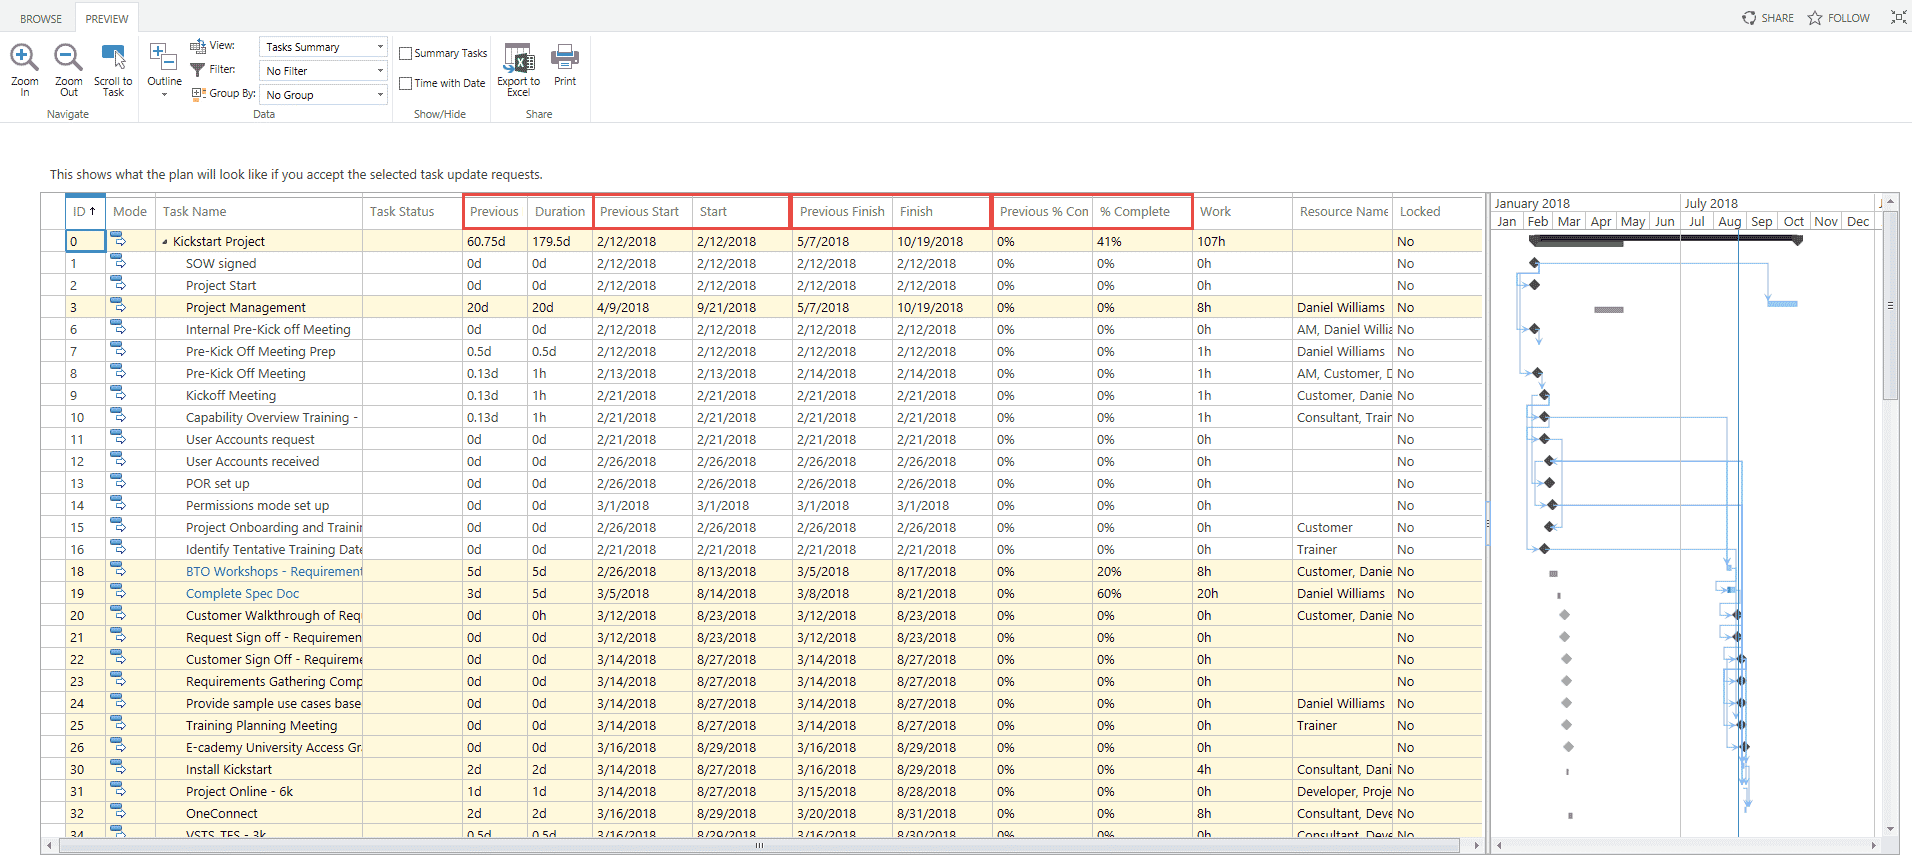 Updated tasks are highlighted with a yellow background. Task names with associated task updates will rendered as a blue hyperlink. To get details of the task update, click the associated link (task name).
To change a view, click on the View dropdown box.
 Accepting and Approving Task Updates

From the Quick Launch Menu, click the My Approvals link (or ‘Approvals’) to access Project Online’s ‘Approval Center’.
 Select the tasks updates to be accepted by checking the box next to the relevant tasks.
 Click Accept on the Approvals tab, located in the ‘Actions’ section of the Approvals menu ribbon.
 Optional: Add comments for the team members in the Confirmation dialog box.
The approved task updates will be applied to the project schedule the next time it is published.
Rejecting Status Updates
From the Quick Launch Menu, click the My Approvals link (or ‘Approvals’) to access Project Online’s ‘Approval Center’.
Select the tasks updates to be accepted by checking the box next to the relevant tasks.
Click Reject on the Approvals tab, located in the ‘Actions’ section of the Approvals menu ribbon.
 Optional (but recommended): Add comments for the team members in the Confirmation dialog box.
Rejected task updates will be returned to the respective Team Members along with the comments entered. The Team Member will clearly see which task(s) have been rejected in their Timesheet and in the Task Center (‘Process Status’ column).
Resource’s Timesheet

Resource’s Task Center View